Do You Prefer Using The Brave Browser?, See How To Store Your CRAT Coins In The Brave Wallet


Disclaimer
This article has been created by a CratD2C community member to assist others in learning and sharing general information about CratD2C, when it comes to setting up wallets and sending and receiving crypto assets.
It is intended solely for educational and informational purposes and is not an official CratD2C website.
While every effort has been made to ensure that the information provided is accurate and helpful, it may not always reflect the most current developments.
Users are strongly encouraged to conduct their own research and, where appropriate, seek professional advice before relying on or acting upon any information contained herein.
This article does not provide financial, investment, or legal advice, and any actions taken based on the information presented are entirely at the user’s own risk.
By accessing and using this article, you acknowledge that you have read, understood, and agreed to this Disclaimer.
Introduction
This article is for those that use the Brave Browser and would like to store their $CRAT Coins in the Brave Wallet.
Although you can connect a hardware wallet to the Brave wallet, I will assume that you are new to crypto and do not have a hardware wallet.
Creating The Wallet
Firstly open up the Brave Browser and click on the wallet icon in the upper right side of your webpage, next to your extensions, assuming you have any installed, see an image below:

Once you click on the Brave Wallet icon you will see the following:
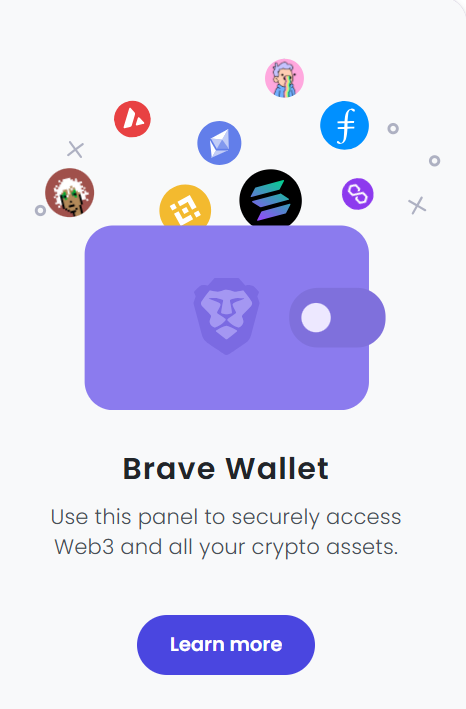
Once you click on the “Learn more” tab you will see the following asking if you need a new wallet or already have one, for the purpose of this article we will assume you need a new wallet.

Now click on the “Need a new wallet” option and you will be presented with a pop up screen notifying you about certain information and agreeing that you have read and agreed to the terms of use, see below:
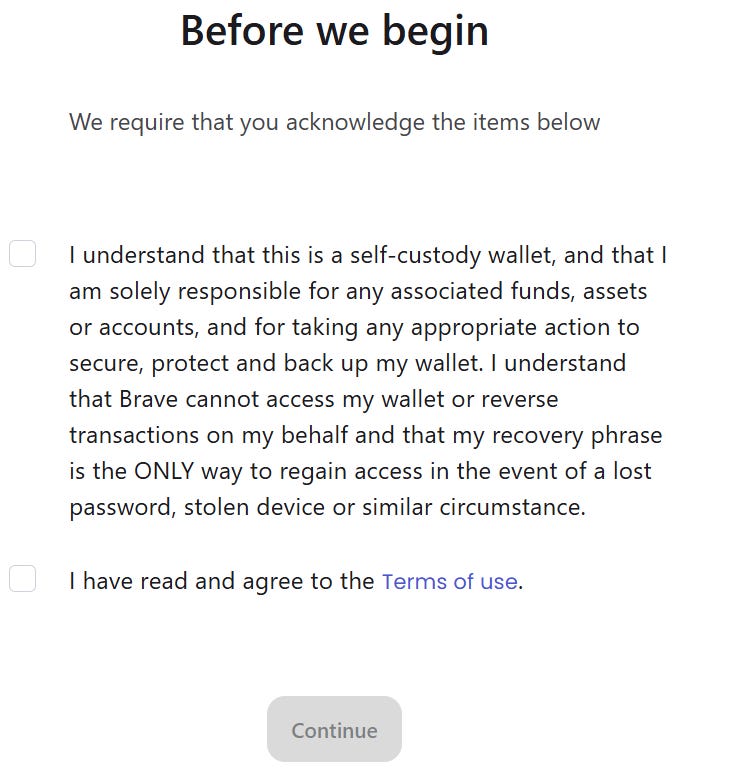
Once you have ticked both boxes you will then see some information about available networks, you can choose to leave as is or edit networks you won’t use (we will add $CRAT’s custom network later).
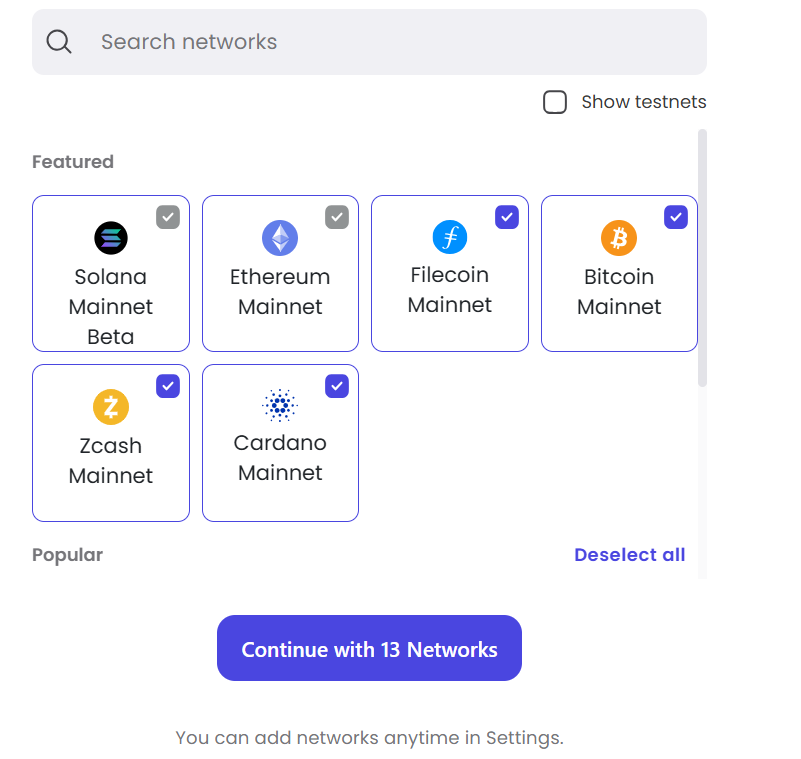
Assuming you leave as is click on “Continue with 13 Networks.”
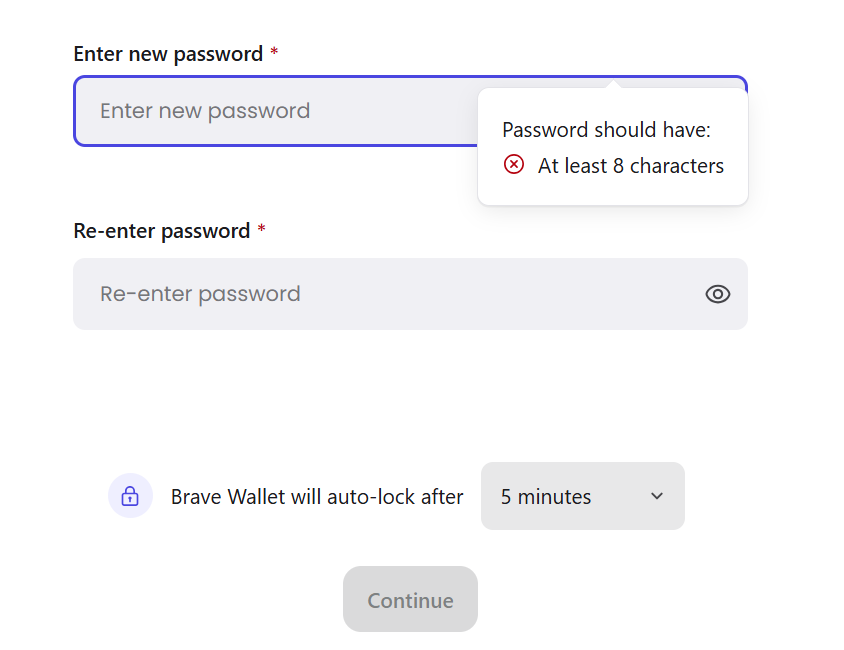
You will now be asked to create a password, see below:
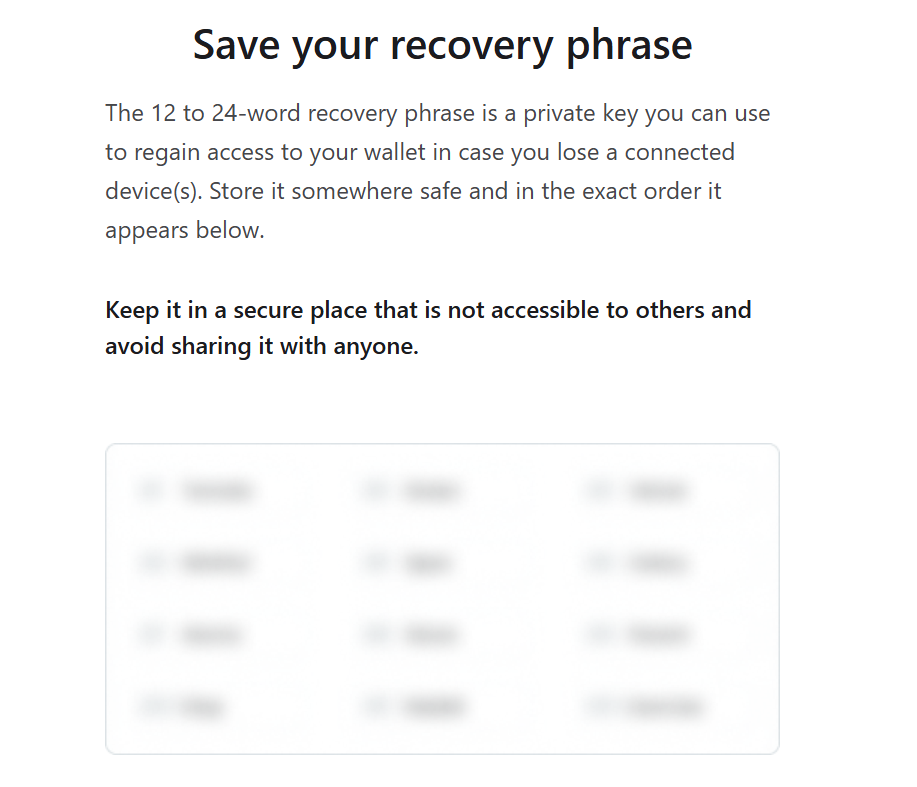
Once you have entered your password and confirmed it, click on the “Continue” tab and you will see your “Recovery Phrase” blurred out, see below:
The next step is to write down your Recovery Phrase in the same exact order you see, ensuring you never share it with anyone you do not trust and also ensure you make multiple copies and store in different locations.
Once you are ready to write down your Recovery Phrase click on the “Show my recovery phrase” tab.
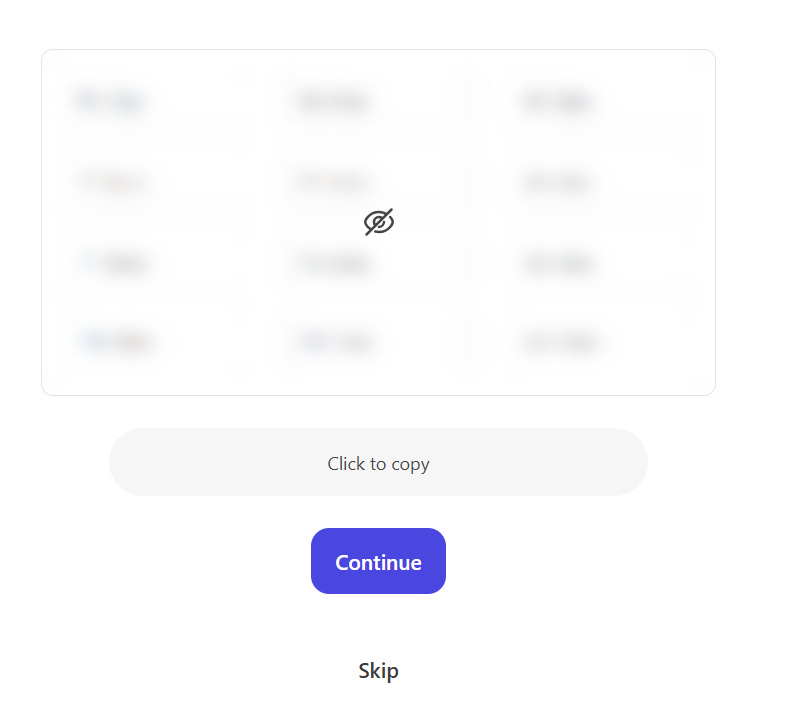
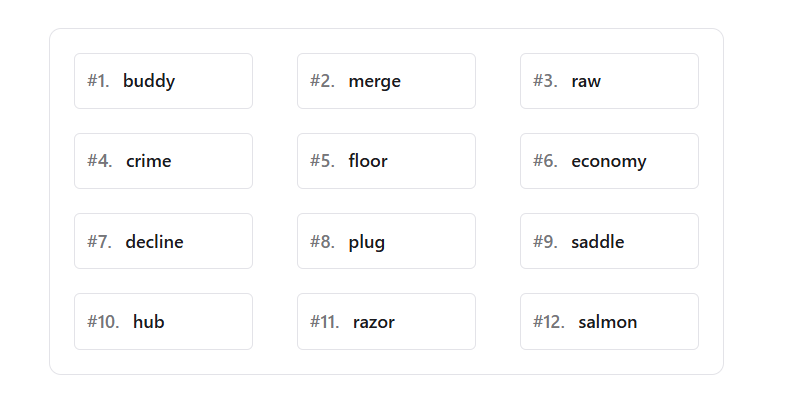
You are then given an opportunity to copy your Recovery Phrase or skip this section and backup later, I will choose to backup my wallet now by writing down the Recovery Phrase, if you hover over the Recovery Phrase you will see 12 words are revealed, carefully write these down in the order you see them, see below:
After writing down the Recovery Phrase click on the “Continue” tab where you will be asked to enter the correct word that corresponded to a certain position several times, see below:
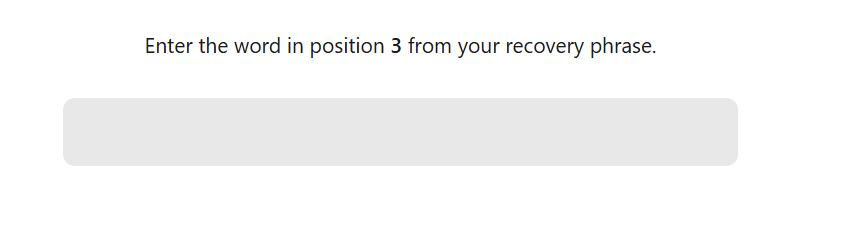
Enter the correct word and click on the next tab, you will probably be asked to repeat this process 3-4 times.
Once you have entered the correct word 3-4 times you will then see the following letting you know that you have backed up your wallet successfully, see below:

Delete Assets You Do Not Want Visible In Your Wallet
Now click on the “Go to portfolio” tab and you will see the following:

Before we enter the custom network for $CRAT I will choose to custom how many assets I see in my wallet as I don’t want them all visible.
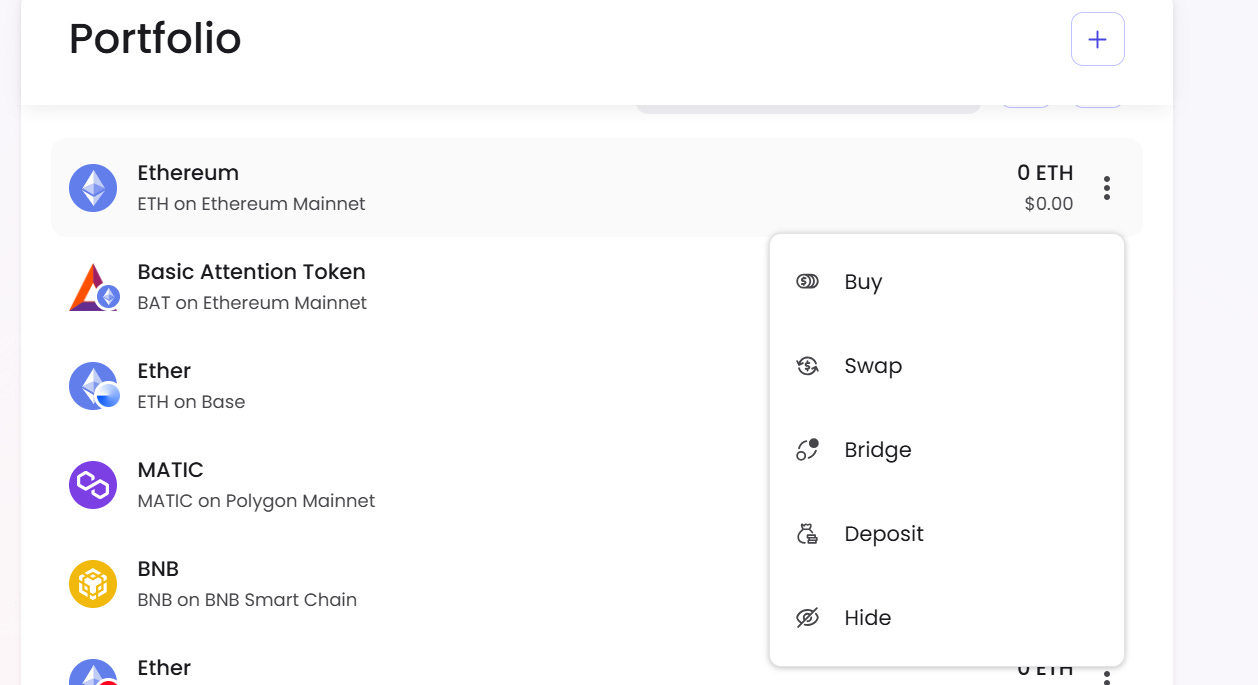
If you click on the 3 vertical dots corresponding to the asset you would like to hide from your wallet you are given 5 options, at the bottom you will see “Hide,” see below:
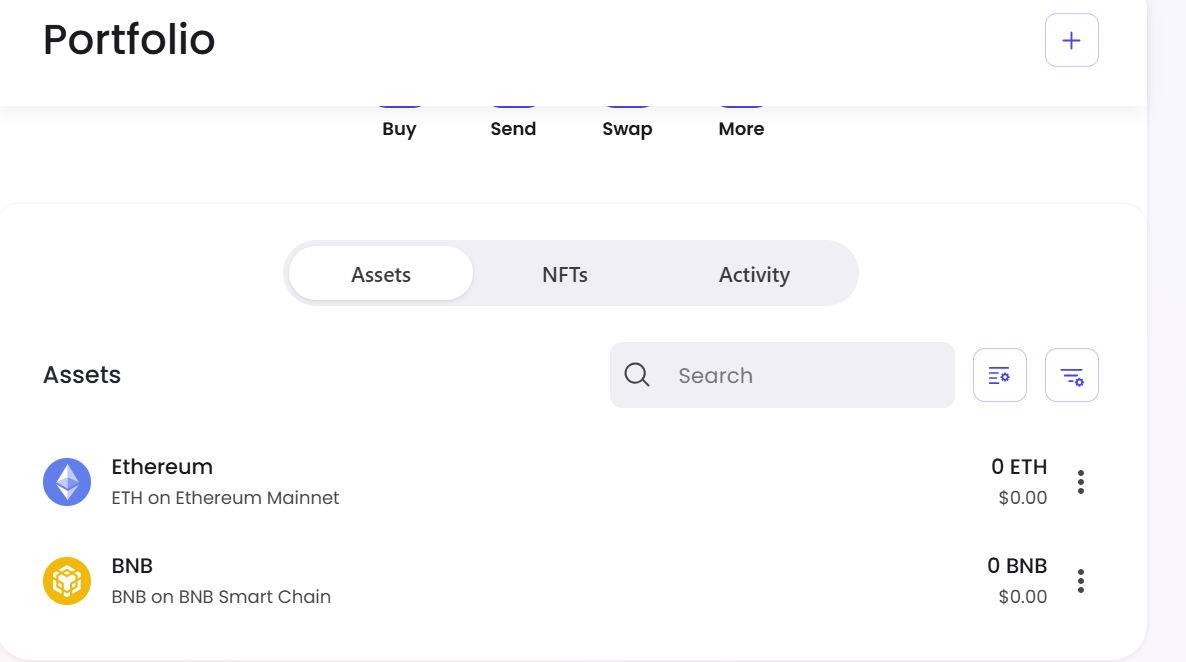
Now hide all the assets you don’t want to be visible in your wallet by following the above process.
I chose to just have Binance Smart Chain and Ethereum, see below:
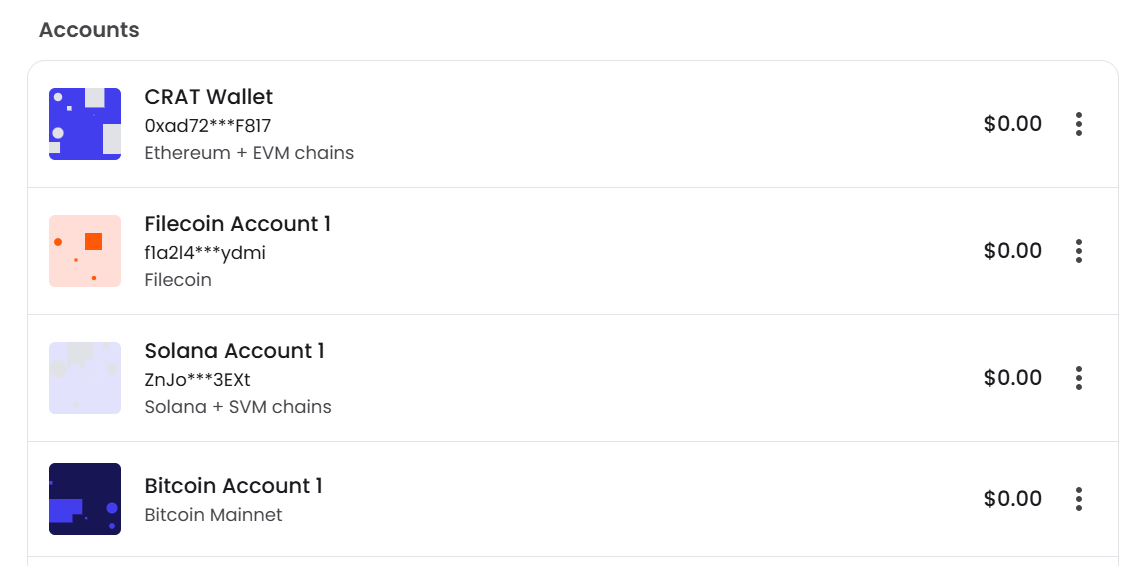
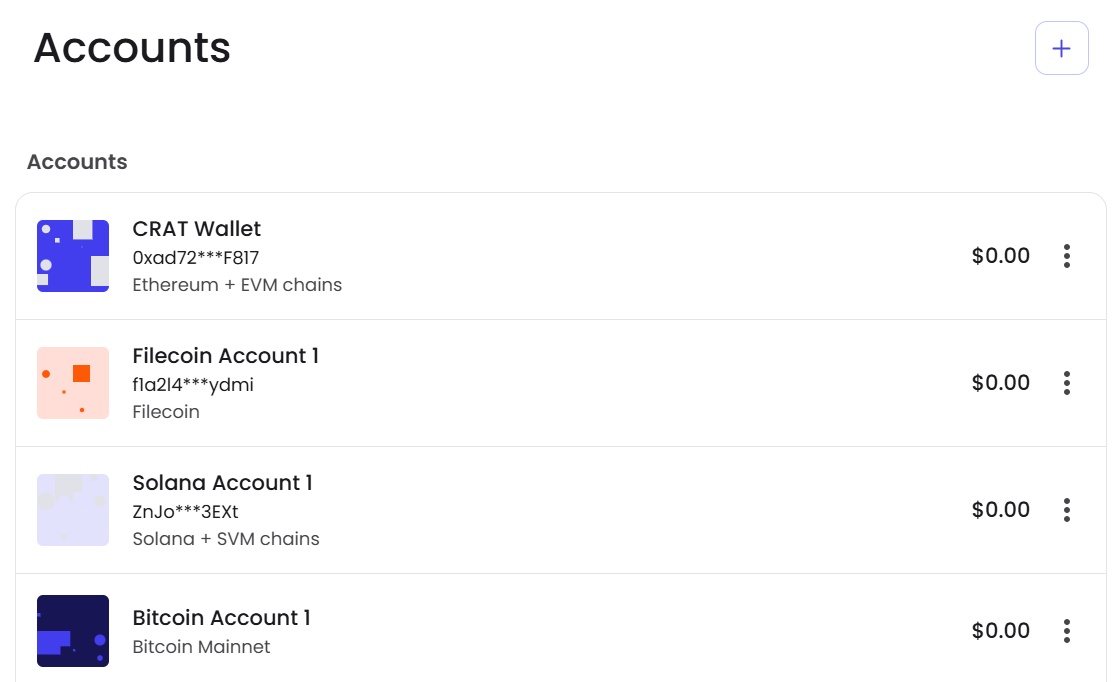
Choose Your Account
Now click on the “Accounts” tab in the left menu, you will see there are several assets that Brave will not let you hide, I have found this can vary a little each time you create a new wallet, why?, see explanation from Brave, “You cannot delete certain accounts from Brave Wallet because specific default accounts are required for the wallet to function properly with Ethereum and Solana decentralized applications (dapps).”
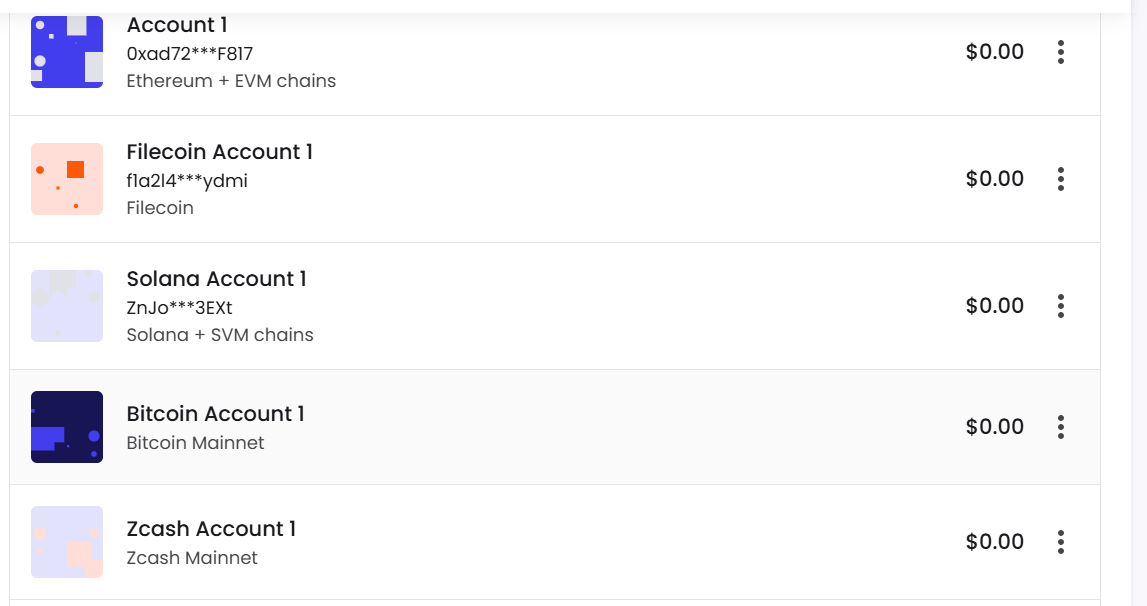
I am going to use account 1 as my wallet as it’s an EVM compatible wallet.
Rename Your Account
You can rename the Account/Wallet as follows:
1, Again click on the 3 vertical dots, followed by clicking on the “Edit” TAB, see below:
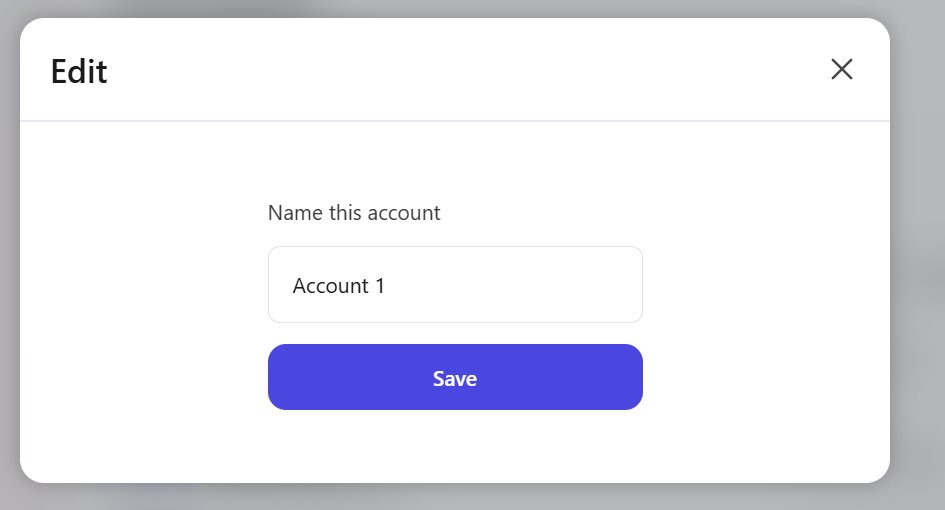
Now rename the account as you wish and click on the “Save” tab, I will call this my “CRAT Wallet” for the purpose of this demonstration.
See below my renamed wallet:
Add CratD2C Custom Network
Now we need to add the CratD2C network details.
Firstly, have the “CratD2C Assets Wallet Configuration Guide” handy, see below link:
CratD2C Assets Wallet Configuration Guide
Now in the top right corner of the webpage click on the 3 vertical dots followed by settings, below is what you will see:

Now we want to scroll down until we see “Wallet networks,” see below:
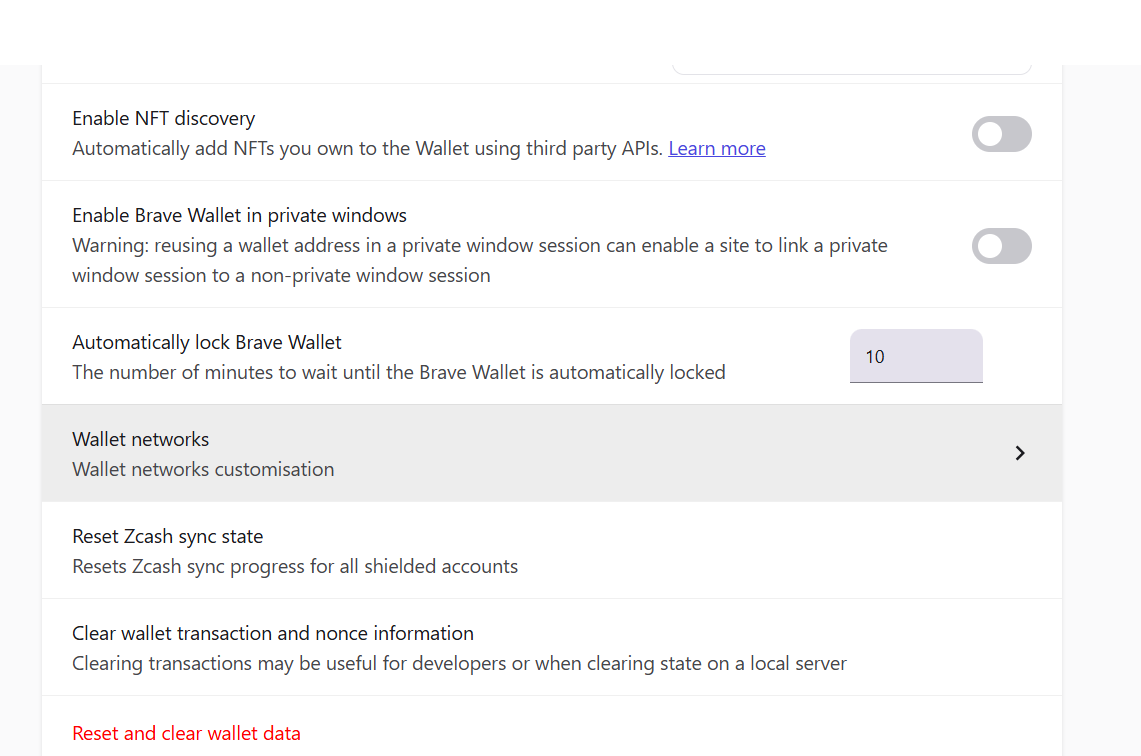
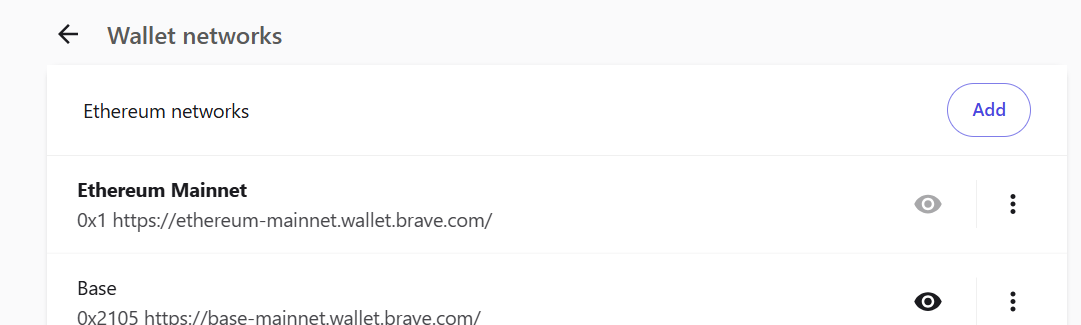
Click on “Wallet networks” and you will see a list of all the networks available in the Brave Wallet.
As we want to add the CratD2C network you now need to click on the “Add” tab, see below:
You will now see an option to add a network, see below:
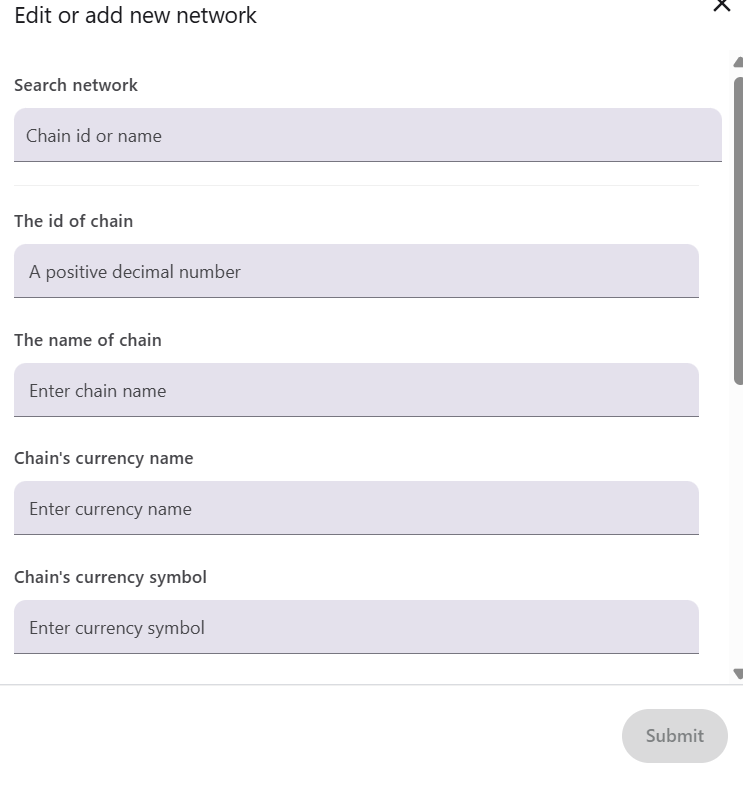
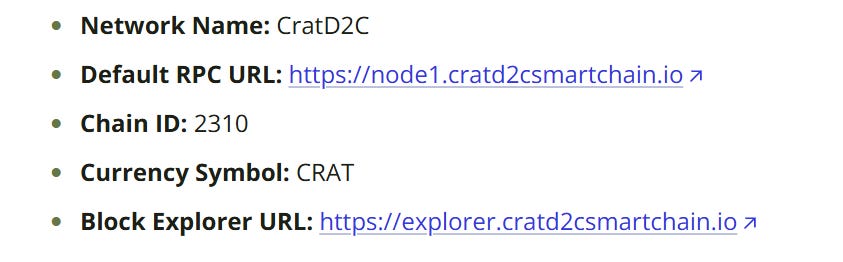
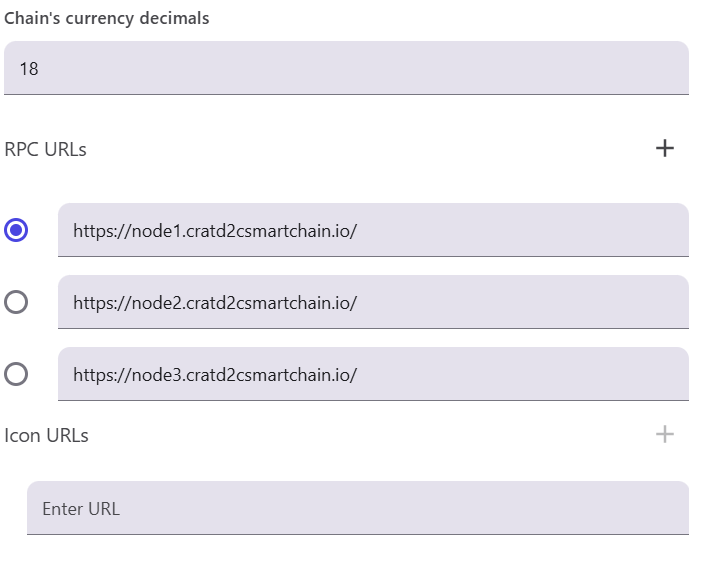
Looking at the MainNet Asset Configuration guide I posted above you will see the following details:
You will see the first piece of information being asked for is the “Chain id or name.”
As we know the chain ID is 2310, enter this into the top field, you will then see the following:
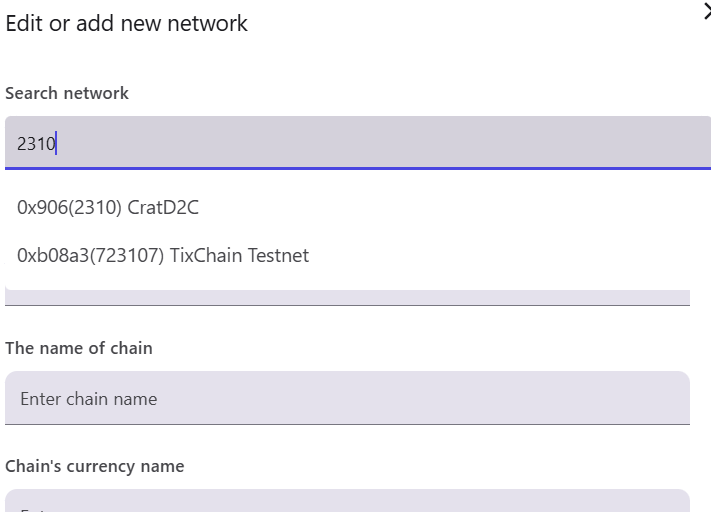
We want to obviously click on the CratD2C tab.
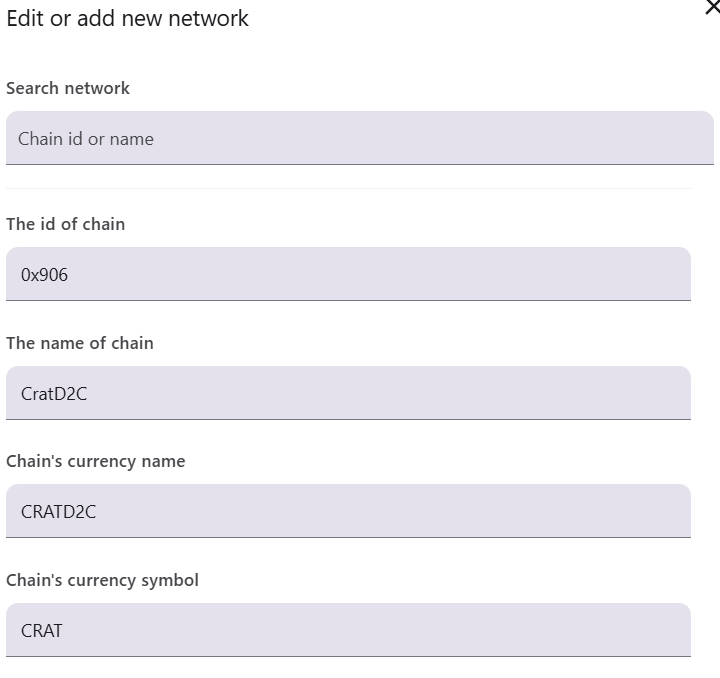
After clicking on the above tab you will see all information has been auto-filled, see below 2 images:
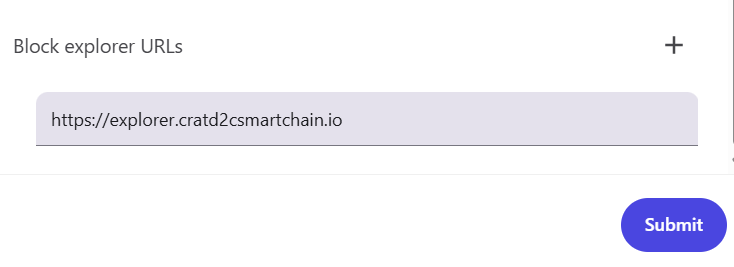
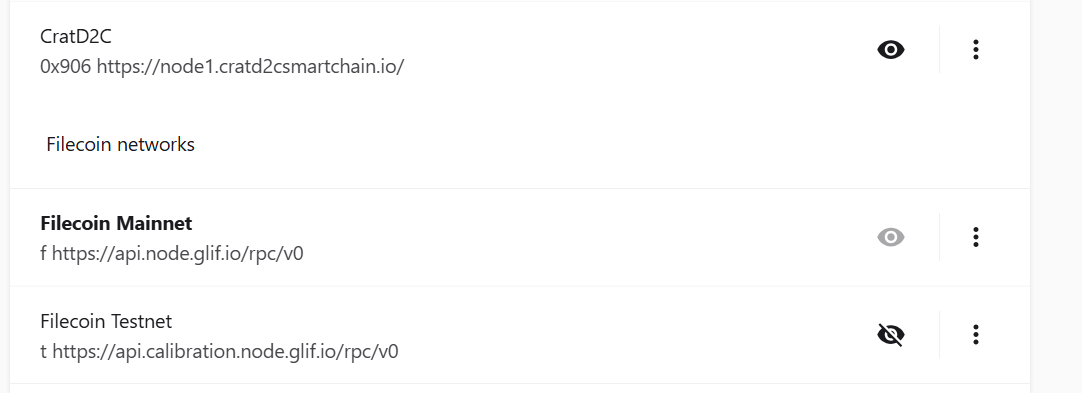
Now click on the “Submit” tab and you will see that the CratD2C blockchain has been added to the list of available networks, see below:
If you now click on the “Wallet” tab you will be taken back to the account tab after entering your password, see below:
Sending $CRAT To The Wallet
I am now going to send 1 $CRAT Coin to my Brave Account/Wallet.
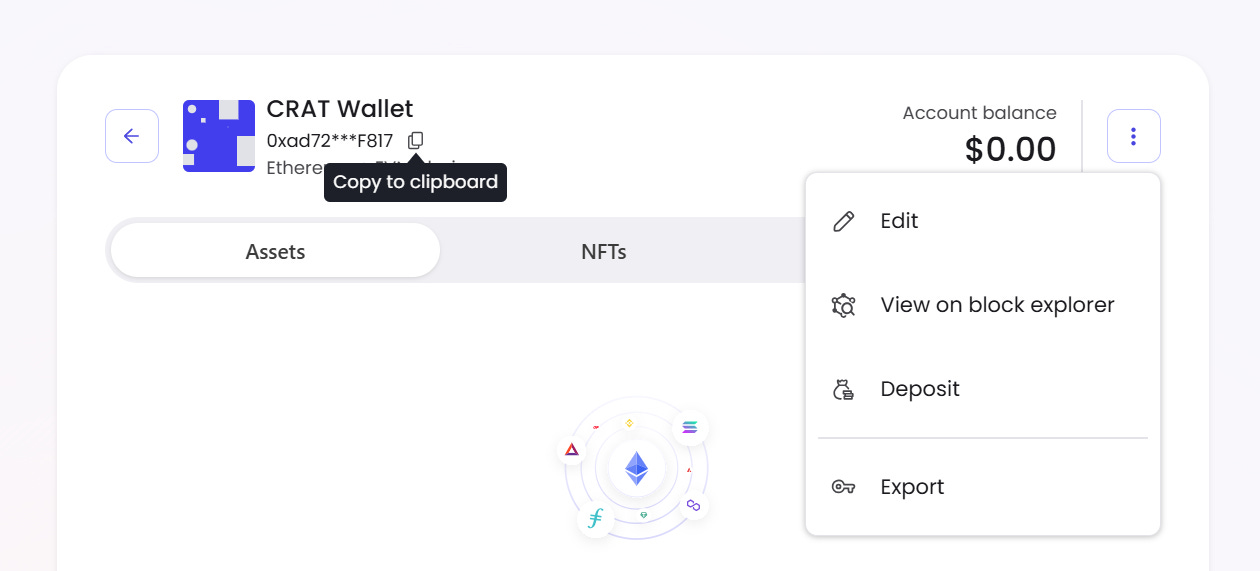
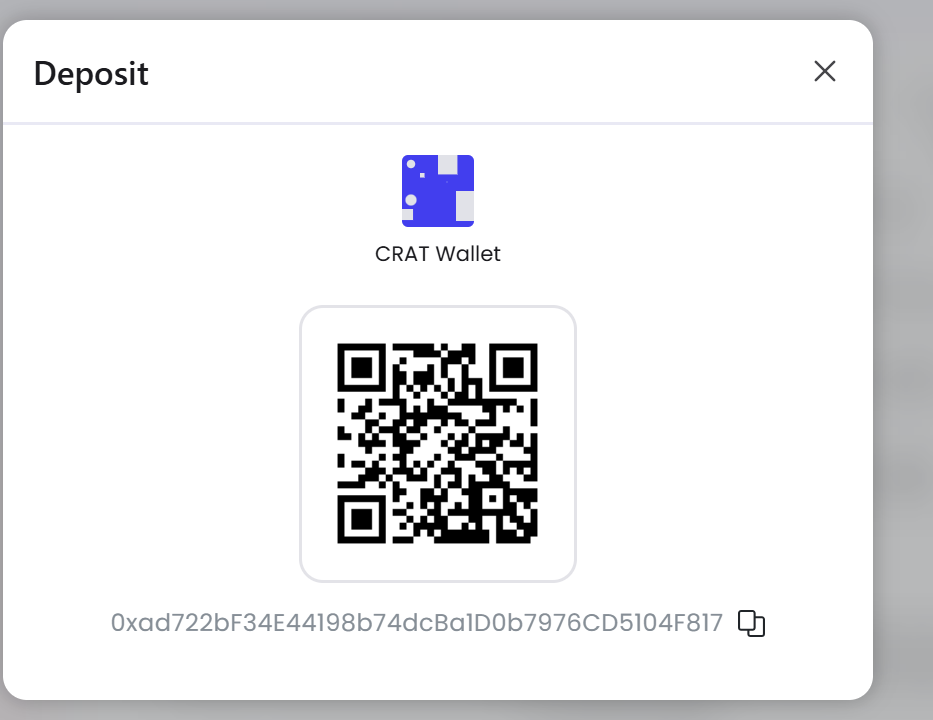
To get the Brave Wallet deposit address you can simply click on your Brave Account and copy the deposit address to your clipboard or click on the 3 vertical dots and then click ‘Deposit,” I will show you what you will see in both situations:
I will now send 1 $CRAT to this deposit address from an account on my ledger that myself and Prof. DeSci will be using to run giveaways/competitions in the near future.
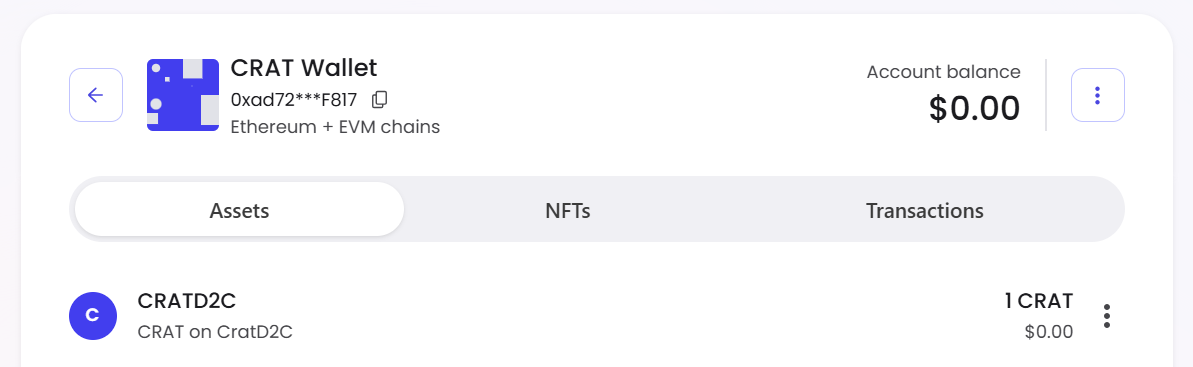
You can now see that the 1 $CRAT arrived in my Brave Wallet Account, see below:
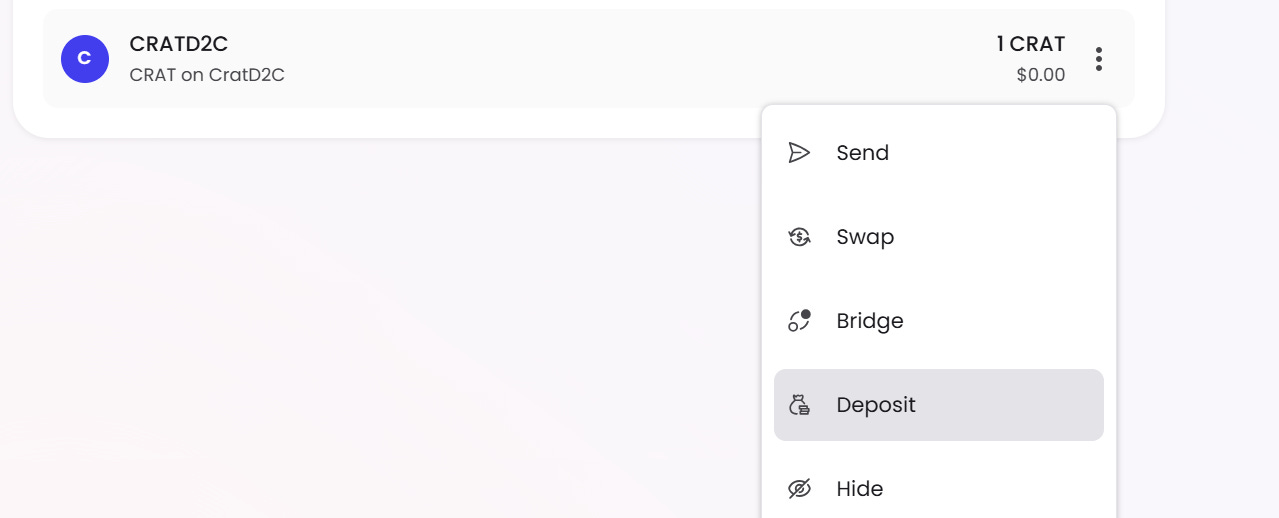
Now I am going to send 0.5 $CRAT back to the wallet it came from, so you can see that it’s also possible to withdraw $CRAT from the Brave Wallet.
To send the $CRAT to another address you have a few options (I will only show 1), you can click on the 3 vertical dots and then the “Send” tab, see below photos:
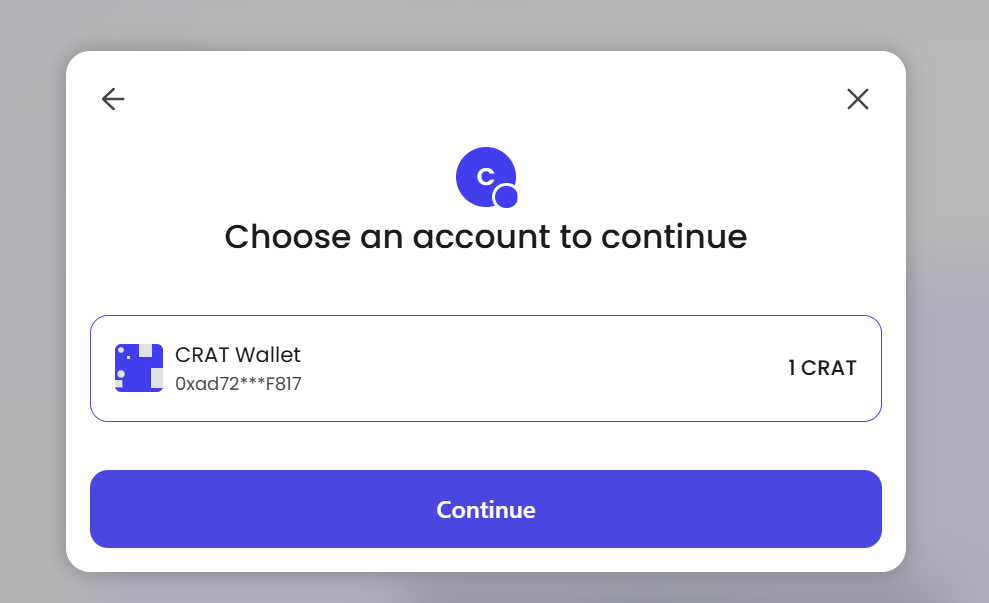
Now if you click the “Continue” tab you will see the following:
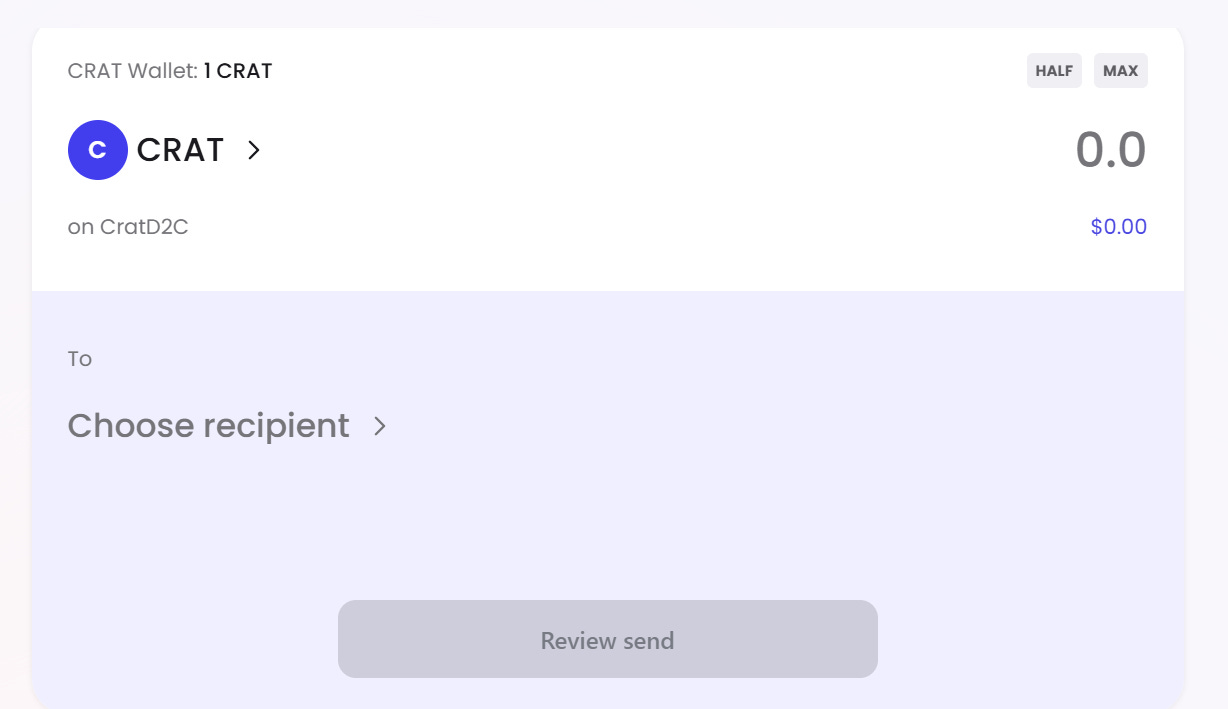
After entering the amount you wish to withdraw, you now need to click on the “Choose recipient” tab, you will then be asked to enter your withdrawal address, see below:
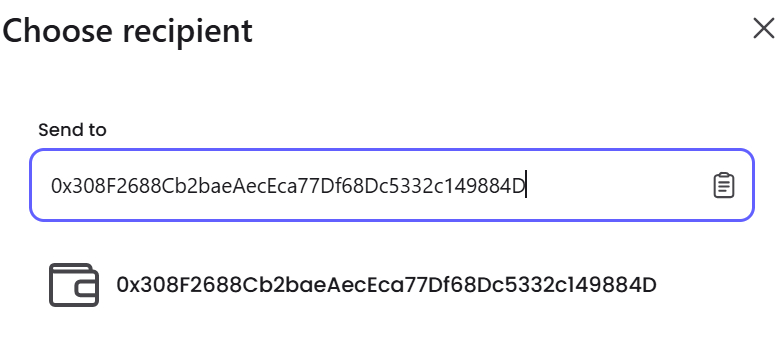
Click on the address at the bottom and you will see the following:
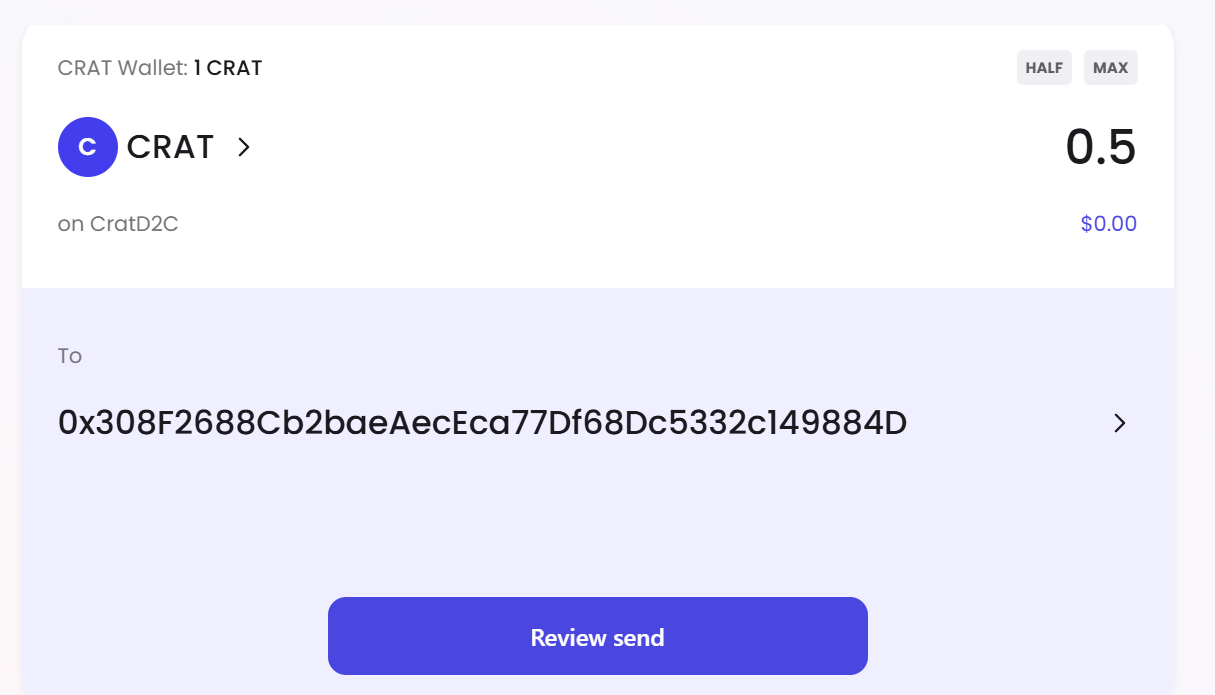
Click on the “Review send” tab and you will see the following pop up window appear:
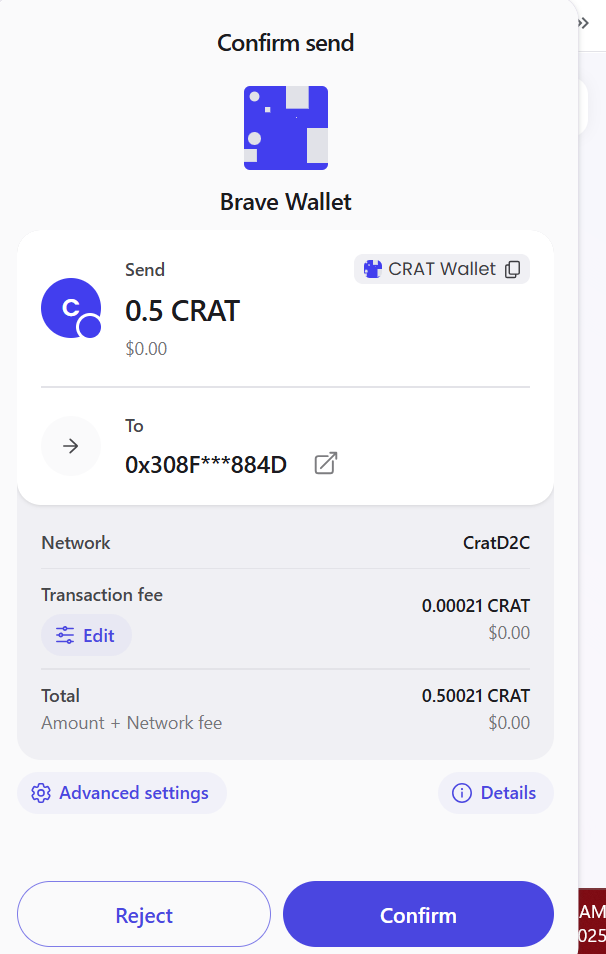
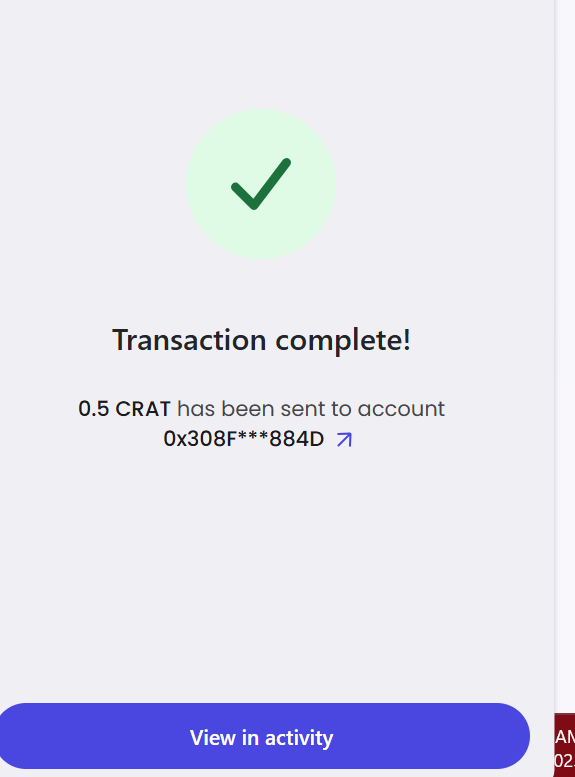
After confirming all the information is correct you can now click on the “Confirm” tab, you will then see the following assuming your transaction was successful:
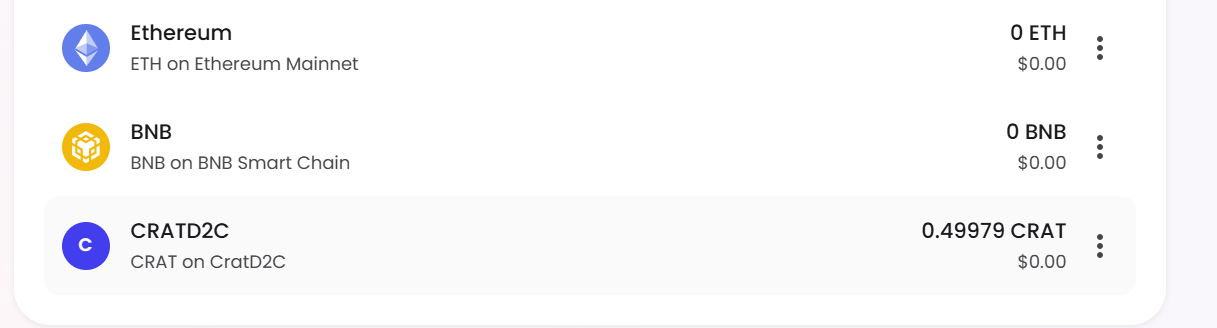
You will now see my $CRAT balance is now 0.49979, see below:
Finally, see the CratD2C block explorer where you will see the transaction was successful:

Conclusion
As mentioned earlier, you can choose to connect a Nano Ledger to the Brave Wallet, I have done it and it’s basically the same as connecting to MetaMask.
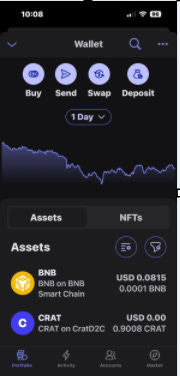
If you use the Brave browser and don’t want to go logging into another webpage, extension, or using a mobile wallet this is an option for you, however you can also use the Brave Wallet on your mobile device, assuming it was not created with a hardware wallet.
See below an image of the Brave wallet on an I phone: